Tutorials
Define your own object types
Tutorials
Define your own object types
Creating your own object types is a great way to adapt Capacities to your workflows.
Previously, we had to adapt our way of thinking to computers, and had to try to organize ideas and content in rigid folder structures. Capacities breaks with these limitations by introducing networked note-taking. To give the elements in your network a structure, everything in Capacities is an object, and every object has a type. They color, structure, and enrich your note-taking without you needing to think a lot about it. Let's dive in.
Adding new object types via the object studio
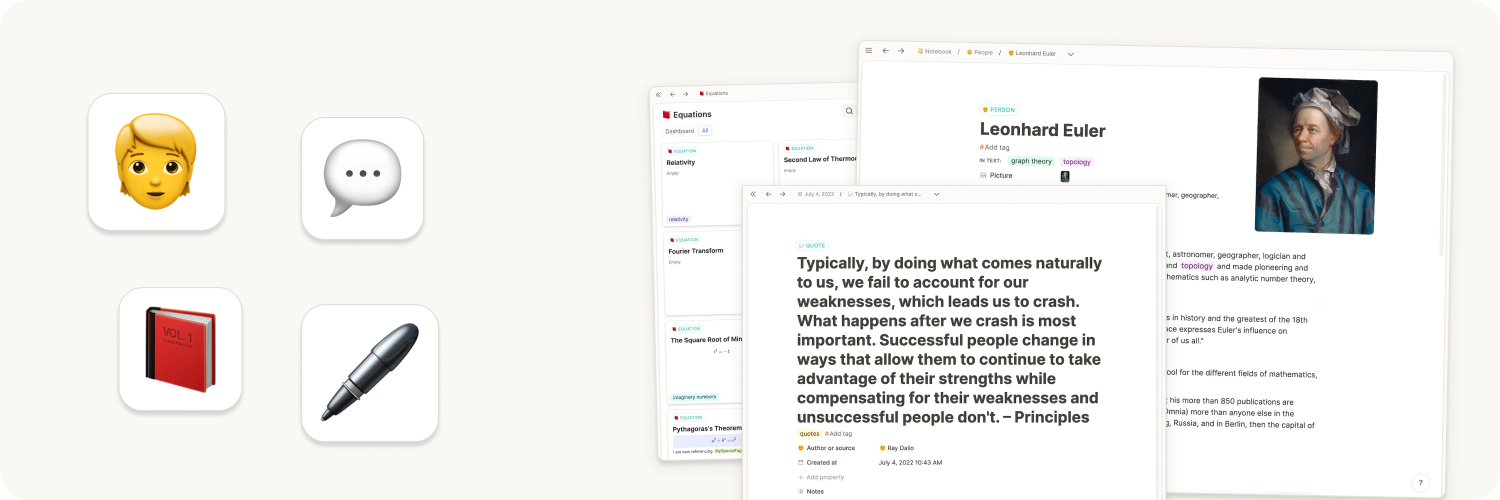
In the left sidebar, you can find all your object types. They are organized in databases for pages, images, or web links.
To create a new object type either:
- Hover where it says "Object Types" and click on the "+" to open the object studio.
- Open
Settings > Object Types > Click + New Type
Here you can select from basic object types that Capacities provides. These types cannot be customized but come with some additional features. On top, you can create your own custom object types. They can have properties, like a date, a checkbox, and more and can be displayed with different layout options. You can either start with one of the templates provided by the community or create one from scratch.
This video will show you how to create an object type from scratch:
All you need to decide when you first set up an object type is its name. You'll need a singular noun (e.g. Meeting) and a plural (e.g. Meetings) as this reflects the structure of Capacities. Your meeting objects are examples of your Meetings object type.
Once you've decided on a name, click 'create object type' and you've just created your first custom object type!
You will be taken to your new object type where you'll see an example of your new object type. Then you can start customizing further, if you'd like.
Customizing Object Types
To customize your object type, you need to open the object type settings. Here you'll see all the things you can customize.
Any changes you make to the settings will reflect in every object of that type.
You can define some initial settings and then further customize or adjust later. Any updates will affect all objects of that type.
Properties
You can customize each object type's properties.
Any properties you add to your object type will apply to all objects of that type. For example, if you add a date, list of attendees and a blocks property to your Meeting object type, all meetings will have these properties.
To add properties,
Layout
Currently believers have access to some different page layouts that help you differentiate the layout of your objects based on the type of information held within them. Check out the page linked above for more details on this.
Small card view
Every object type can be viewed in various ways. Two such views are the gallery and wall view. They show you what we call a "small card" of your object. You can customize what properties are shown on these cards following the instructions here.
Object Dashboards
All object types have object dashboards with customizable sections such as all untagged objects, or all objects not in a collection.
Time to use your new object type!
Once you're happy with your settings, you're ready to go! You can create and link your objects together as you would any other object type. You can also organize them in collections, and link them to other content or tag them to bring them together with other objects too.
Changing object types
If you have objects assigned to an object type that no longer fits, or you just want to change things up, you will need to know how to change object types.
Above each object's title, there is a label which tells you which object type it has. Click on that label and a dropdown menu appears. This allows you to choose which new object type you want your object to have. Click on the one you'd like to choose.
Basic object types, such as PDFs, Images, audio files etc, cannot be converted. If you want to see them in a different object, you can embed them. For example, if a PDF is useful for a project, go to the project, and type @PDF Name and then click the three-dot menu (...) > change view > embed. Then the PDF is easily accessible from the project, but it still has the powerful PDF features built into Capacities.
A pop up window will then come up that compares properties between each object type. Make sure your important information has somewhere to go in your new object type.
Once you're happy, click the blue button and your object and all the content you've chosen to move, will have moved!
Here's a video to walk you through that:
Object types give your content a structure. It is not necessary to define all your object types before you start using Capacities. You can always start with just using pages and once you see a pattern or want to systemize your workflow you can quickly use the "turn into" feature to convert them into your new object type. For help deciding whether you need a new type, see When to create a new object type.
Ask a question! - The Docs Assistant knows everything about the documentation, and the ideas and feature requests from other users.
Create a ticket on our feedback board. - Let us know if you have an idea for a feature, improvement or think there is something missing.
Request additions to the documentation. - If your questions are not getting answered, let us know and we will extend the documentation.